

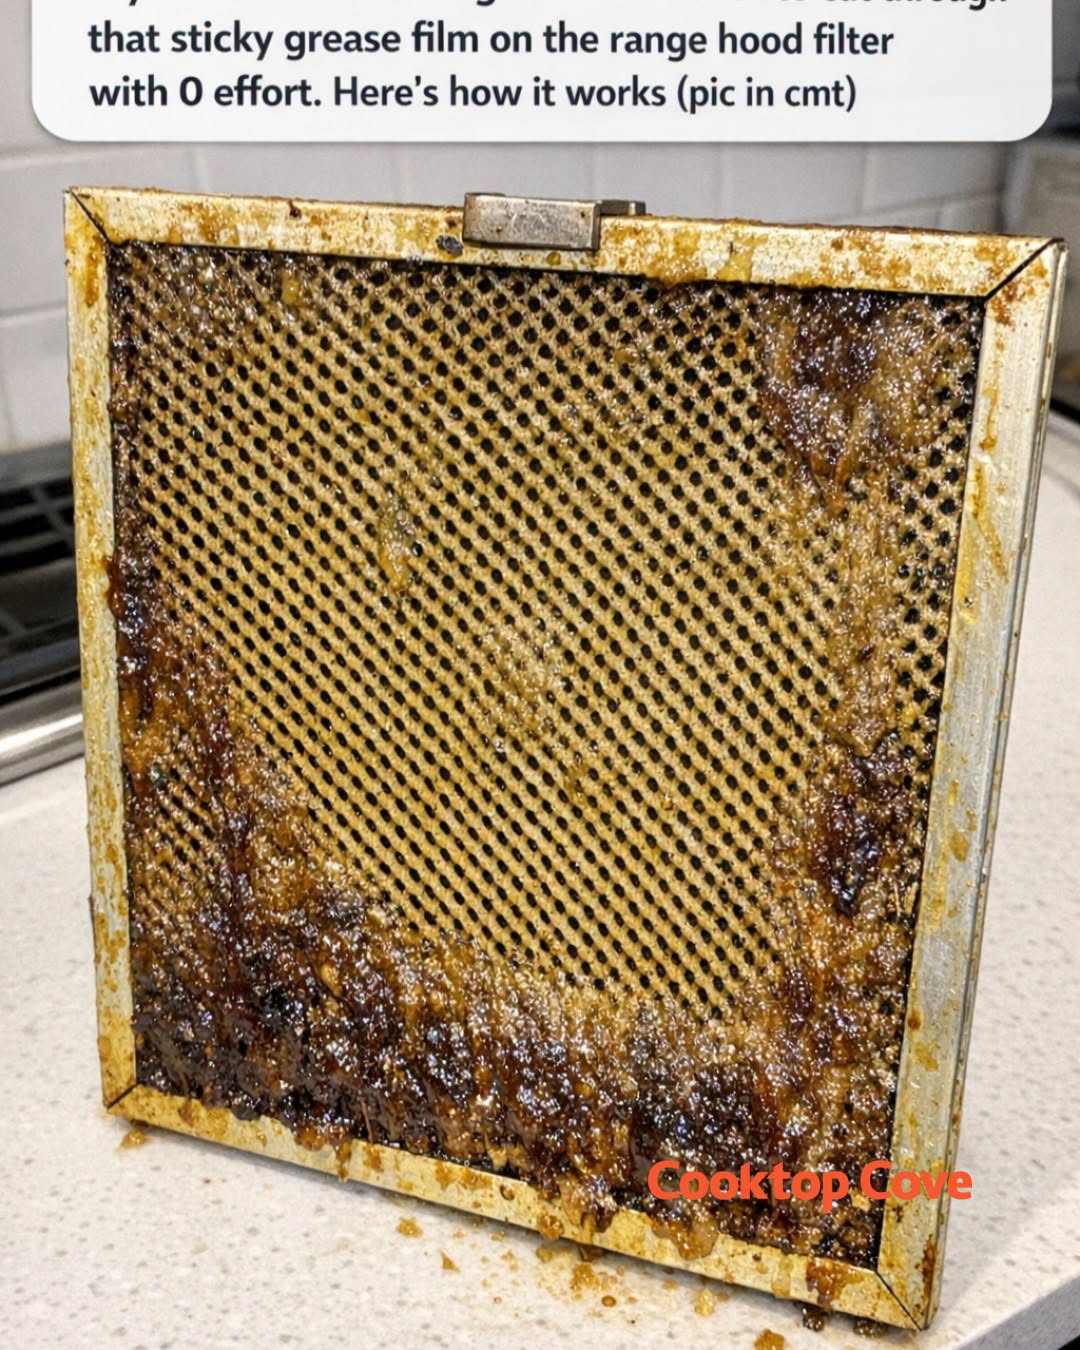
If your range hood filter has that tacky, yellow-brown grease film that seems to laugh at dish soap, I know exactly what you’re dealing with. In my house, the hood over the stove catches everything from bacon splatter to the steam from big pots of chili, and before I know it, the filter feels sticky even after a quick rinse. For the longest time, I thought cleaning it meant a lot of scrubbing, hot water all over the sink, and a job I’d keep putting off until I absolutely had to deal with it.
Then a friend from church shared the easiest little cleaning trick with me, and honestly, it changed the whole job. The method is mostly hands-off, uses simple things many of us already have at home, and works by loosening that stubborn grease film so you don’t have to fight it. I’ll walk you through exactly how I do it, what kind of filter it works best on, what to avoid, and a few extra tips I’ve learned for keeping the whole hood cleaner between deep cleanings.
1. The “0 effort” trick is a hot soak with degreasing helpers
The basic idea is very simple: remove the metal range hood filter and soak it in very hot water with a grease-cutting combination that helps break down the sticky buildup for you. The version my friend taught me uses 1/2 cup baking soda plus a strong squirt of grease-cutting dish soap in a sink, dishpan, or roasting pan filled with hot water.
The reason it feels nearly effortless is that the soak does most of the work. Instead of standing there scrubbing for 20 minutes, you let the heat, soap, and baking soda soften the film. On a moderately dirty filter, I usually soak it for 15 to 30 minutes. On a filter that has been neglected for a few months, I let it sit closer to 45 minutes.
2. First, make sure your filter is the washable kind
This matters more than people realize. Most reusable range hood filters are made of aluminum or stainless steel mesh and are meant to be washed. Those are the ones this trick is for. If yours is a charcoal filter or a paper-like filter, it usually is not washable and should be replaced instead.
I always check the owner’s manual if I’m unsure, but if the filter is a lightweight metal mesh panel that slides or pops out from underneath the hood, it’s usually washable. If it looks thick, black, and carbon-filled, that’s often a charcoal filter. Don’t soak those or they can fall apart or stop working properly.
3. Gather the few supplies you need
One reason I love this method is that it doesn’t require specialty cleaners. Here’s what I use: very hot water, 1/2 cup baking soda, 1 to 2 tablespoons grease-cutting dish soap, a sink stopper or large dishpan, rubber gloves if the water is too hot for comfort, and a soft brush or old toothbrush for any tiny leftover spots.
If your filter is larger than your sink, a deep roasting pan, utility tub, or even a clean storage bin can work. I’ve also used my largest stockpot area in the sink with the filter tilted diagonally, flipping it halfway through. You do not need fancy tools. Most days, I can pull this together in under 3 minutes.
4. Remove the filter safely before you start
Turn the range hood fan and light off first, and make sure the stovetop below is cool. Most filters have a small tab, latch, or lip you push to slide the filter out. I like to place one hand under the filter as I release it, because greasy filters can slip faster than you’d expect.
If it has been a while since you cleaned it, be prepared for the filter to feel sticky and a little grimy around the edges. I usually lay an old towel beside the sink before removing it so I have somewhere to set it down right away. That saves me from transferring grease onto the counter.